Day 50: Your CI/CD pipeline on AWS - Part-1 🚀 ☁
What is CodeCommit ?
- CodeCommit is a managed source control service by AWS that allows users to store, manage, and version their source code and artifacts securely and at scale just like GitHub. It supports Git, integrates with other AWS services, enables collaboration through branch and merge workflows, and provides audit logs and compliance reports to meet regulatory requirements and track changes. Overall, CodeCommit provides developers with a reliable and efficient way to manage their codebase and set up a CI/CD pipeline for their software development projects.
Task-01 :
- Set up a code repository on CodeCommit and clone it on your local.
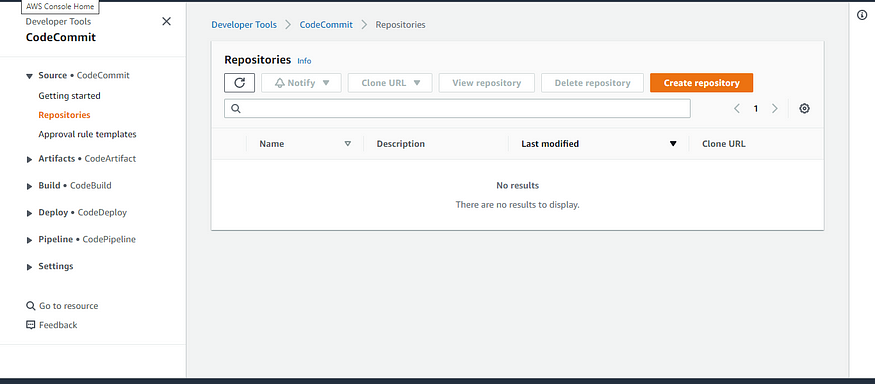
- Login to aws account by using valid credentials. Search “CodeCommit” from search box and click on it. Click on “Create repository”.

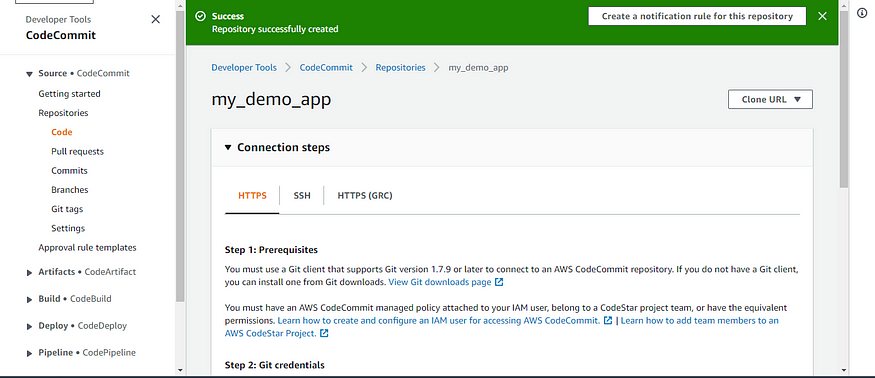
2. Enter mandatory details like “Repository name”. Click on “Create”.

3. Repository will be created and visible.


- You need to setup GitCredentials in your AWS IAM.
- Open visual studio code and open a new terminal. Give command “git status”. Error will come.

2. Go to search box in aws console. Search for “IAM”. Click on “Users”.

3. Your user will be visible. Click on the user.

4. After clicking on user, navigate to “Security credentials”.

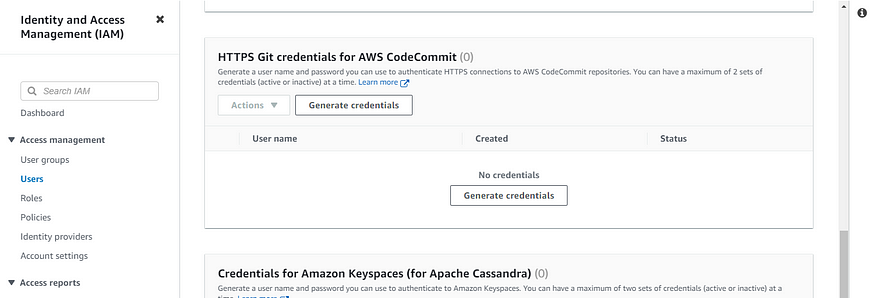
5. Under security credentials, scroll down and come to “HTTPS Git credentials for AWS CodeCommit”. Click on “Generate credentials”.

6. Download your credentials in your system for further usage.

- Use those credentials in your local and then clone the repository from CodeCommit.
1. Click on third icon from left in VS Code. On top 3 dots will appear. Click on three dots. “Remote” option will come. Under that “Add Remote” will be visible and click on it.

2. Enter cloned repository URL.

3. Enter username from the file which you downloaded earlier.

4. Enter password from the file which you downloaded earlier. Click on “Enter” button from your keyboard.

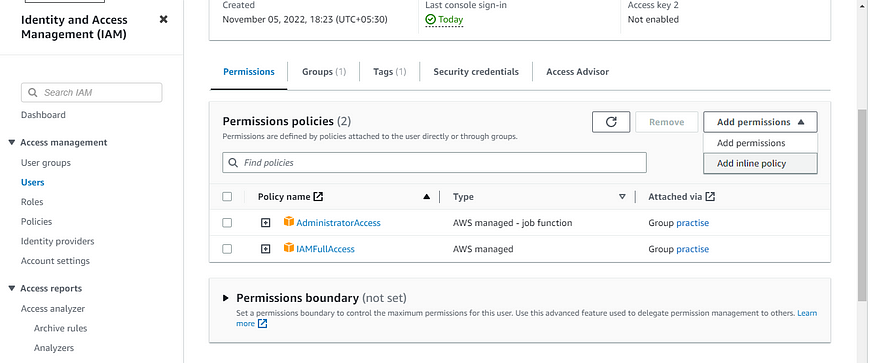
5. Click on “Add permissions” dropdown and click on “Add permissions”.

6. Click on “Next”.

7. Click on “Add permissions”.

8. Your policy will be created and added to your user.

Task-02 :
- Add a new file from local and commit to your local branch.
- Go to your VS Code. Clone your repository from CodeCommit using command “git clone <repository_url>”. Make a new file “index.html” and write desired code in it as given below in the screenshot.

2. Fire the command “git status”, “git add .”, “git comit -m “<any_message>””.

- Push the local changes to CodeCommit repository.
- Fire the command “git push origin master” to push newly made file in local to CodeCommit repository.

2. Open CodeCommit. Go to your repository and click on it.

3. You will be able to see “index.html” file in your repositoory.

Thanks for reading the blog. Hope it helps!